
Here’s a step-by-step tutorial on how to replace the LCD video cable (also called LVDS or eDP cable) in HP Pavilion using compatible part numbers like:
🔧 How to Replace the Video Cable in HP Pavilion (15-DY 15-EF 15T-DY 15S-EQ 15S-FQ 15S-FR)
⚠️ Disclaimer
This process involves removing both the bottom cover and partially disassembling the display assembly. Proceed carefully, as display cables and connectors are fragile.
🧰 Tools and Materials Needed
Phillips screwdriver (PH0 or PH1)
Plastic spudger or pry tool
Tweezers (optional, for cable routing)
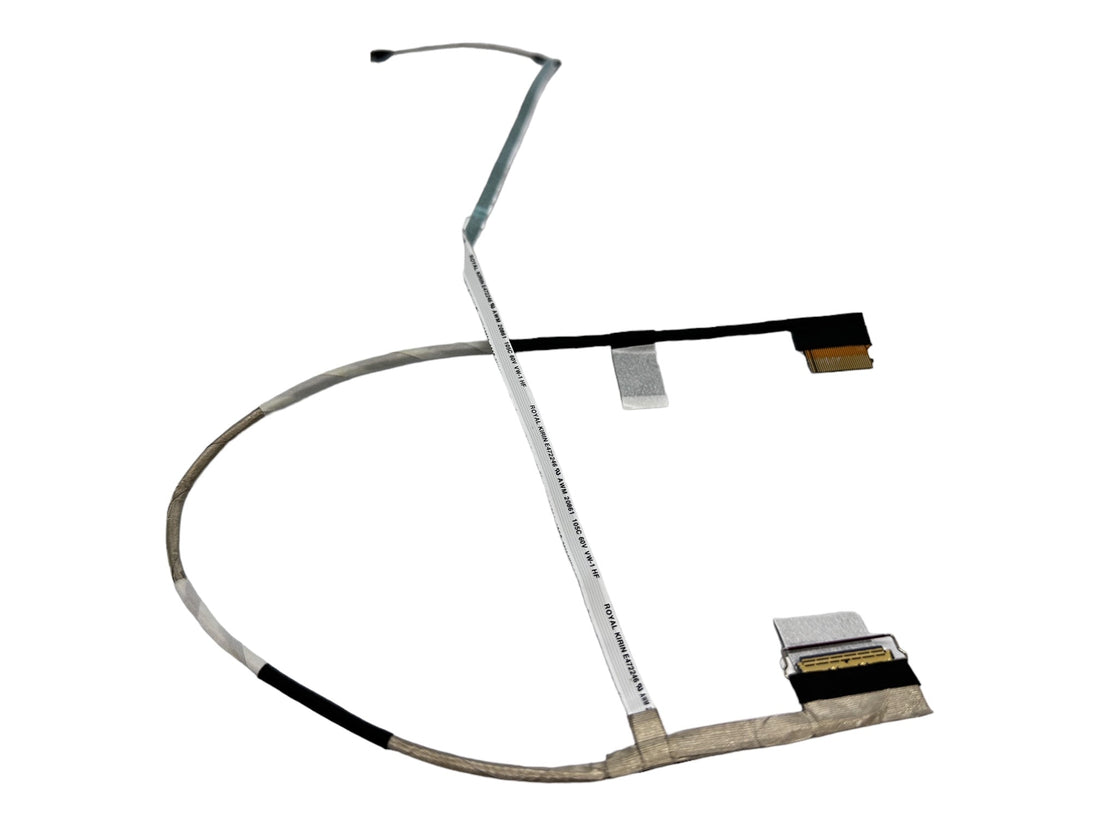
Replacement video cable: L63615-001 L68167-001 DD00P5LC001 DD00P5LC201 DD00P5LC221 DD00P5LC220 DD00P5LC241
Anti-static wrist strap (recommended)
🔌 1. Power Off and Unplug
Shut down the laptop completely.
Disconnect the power adapter and all external devices.
Press and hold the power button for a few seconds to discharge remaining power.
📦 2. Remove the Bottom Cover
Place the laptop upside down on a soft surface.
Remove all screws securing the bottom panel.
Carefully lift off the bottom cover.
💽 3. Disconnect the Battery (If Accessible)
Locate the internal battery connector on the motherboard.
Use a spudger to gently disconnect it to avoid short-circuiting during the repair.
🖥️ 4. Disconnect the Video Cable from the Motherboard
Locate the LCD video cable connector on the motherboard (usually near the cooling fan).
Carefully flip up the locking tab and slide the ribbon connector out.
Note the routing of the cable through hinges or guides.
📺 5. Access the Display Assembly
Open the laptop lid fully.
Remove the bezel (the plastic frame around the screen) by gently prying with a plastic tool.
Unscrew the LCD panel and carefully lay it face-down on the keyboard (use a soft cloth to protect it).
🔌 6. Disconnect the Cable from the LCD Panel
Locate the video cable connection on the back of the LCD screen.
Peel back any protective tape.
Gently pull the connector out of the LCD socket.

🔁 7. Install the New Video Cable
Connect the new cable to the back of the LCD panel, secure it with tape if included.
Route the cable through the hinges and guides exactly as the old one was placed.
Reconnect the other end of the cable to the motherboard, locking the latch.
🧩 8. Reassemble the Laptop
Reposition the LCD panel and secure it with screws.
Snap the bezel back into place.
Reconnect the battery.
Reattach the bottom cover and secure it with screws.
⚙️ 9. Test the System
Power on the laptop.
Verify that the display works without flickering, lines, or blackouts.
Gently move the lid to ensure the cable is routed correctly and not pinched.
🎉 Done!
You’ve successfully replaced the LCD video cable in your HP Pavilion. This should fix issues such as flickering, lines on the screen, or “no display” problems caused by a faulty cable.