
Here’s a step-by-step tutorial on how to replace the internal speakers in Acer Aspire 5, 6 using compatible part numbers like:
🔧 How to Replace the Speakers in Acer Aspire 5, 6 (A515-41G A515-51 A515-51G A615-51)
⚠️ Disclaimer
This process involves removing the bottom cover of your laptop. Be careful, as speaker cables are thin and fragile.
🧰 Tools and Materials Needed
Phillips screwdriver (PH0 or PH1)
Plastic spudger or pry tool
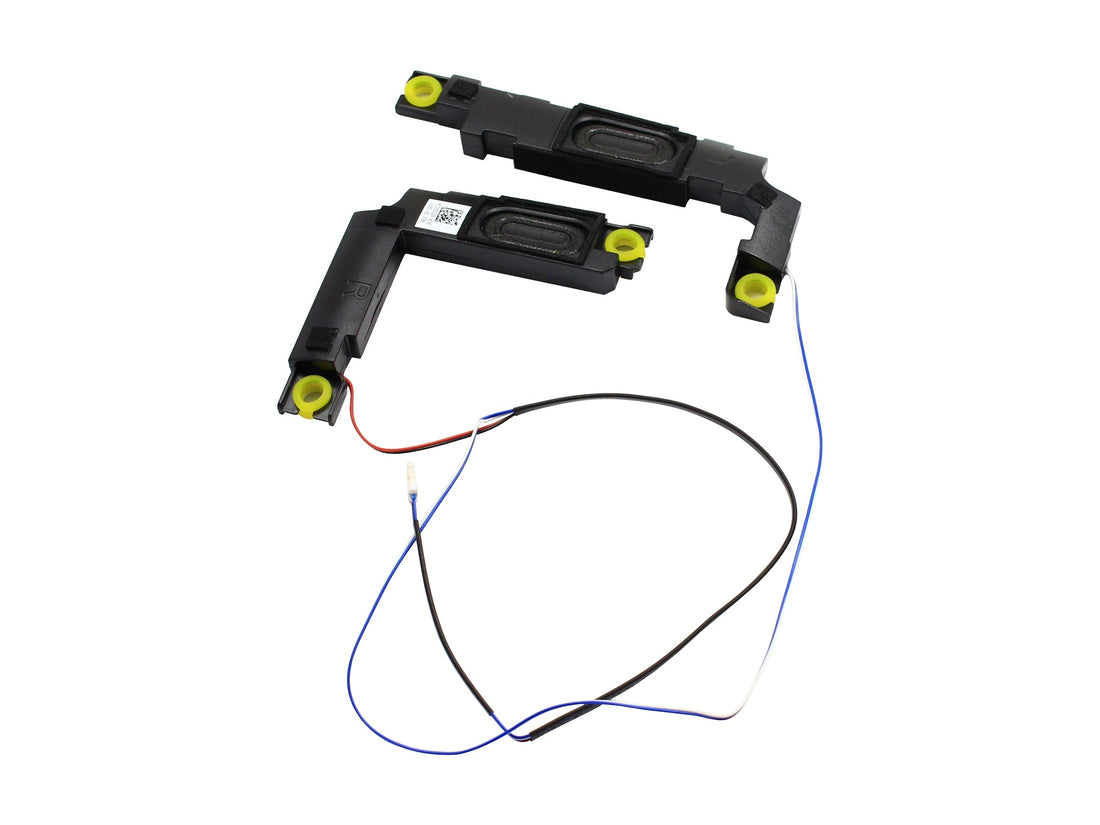
Replacement speaker kit (left + right module with cable): 23.GP4N2.002
Anti-static wrist strap (recommended)
🔌 1. Power Off and Unplug
Shut down the laptop completely.
Disconnect the power adapter and all external devices.
Hold the power button for 5–10 seconds to discharge residual power.
📦 2. Remove the Bottom Cover
Place the laptop upside down on a soft surface.
Remove all screws securing the bottom panel.
Carefully lift off the bottom cover.
🔋 3. Disconnect the Battery (If Accessible)
Locate the battery connector on the motherboard.
Use a spudger to gently unplug it to prevent short circuits.
🔊 4. Locate and Remove the Old Speakers
The left and right speakers are located at the bottom corners of the chassis.
Follow the thin speaker cable that runs between them and connects to the motherboard.
Disconnect the speaker cable from the motherboard socket.
Unscrew (if applicable) or unclip each speaker module from its slot.
Remove the entire speaker assembly (left + right + cable).

🔁 5. Install the New Speakers
Place the new left and right speakers into their slots.
Screw or clip them securely into place.
Route the speaker cable along the original guides.
Connect the speaker cable back into the motherboard socket.
🧩 6. Reassemble the Laptop
Reconnect the battery.
Place the bottom cover back on the chassis.
Secure it with screws.
⚙️ 7. Test the System
Power on the laptop.
Play an audio file to test both left and right speakers.
Ensure there is no crackling, distortion, or silence from one side.
🎉 Done!
You’ve successfully replaced the speakers in your Acer Aspire 5, 6. This should restore clear sound output if you were experiencing distortion, buzzing, or no sound due to faulty speakers.