
Here’s a step-by-step tutorial on how to replace the DC power input jack (motherboard-mounted, without cable) in Acer Aspire 3 models like:
🔧 How to Replace the DC Power Input Jack (Without Cable) in Acer Aspire 3
⚠️ Disclaimer
This repair is advanced. The jack is soldered directly to the motherboard, so soldering skills and tools are required. Additionally, some ribbon cables or grounding wires may need to be carefully routed through or around the new jack housing during reassembly.
🧰 Tools and Materials Needed
Phillips screwdriver (PH0 or PH1)
Plastic spudger or pry tool (optional)
Soldering iron (fine tip, temperature-controlled)
Desoldering braid (copper wick) or desoldering pump
Flux (for clean solder joints)
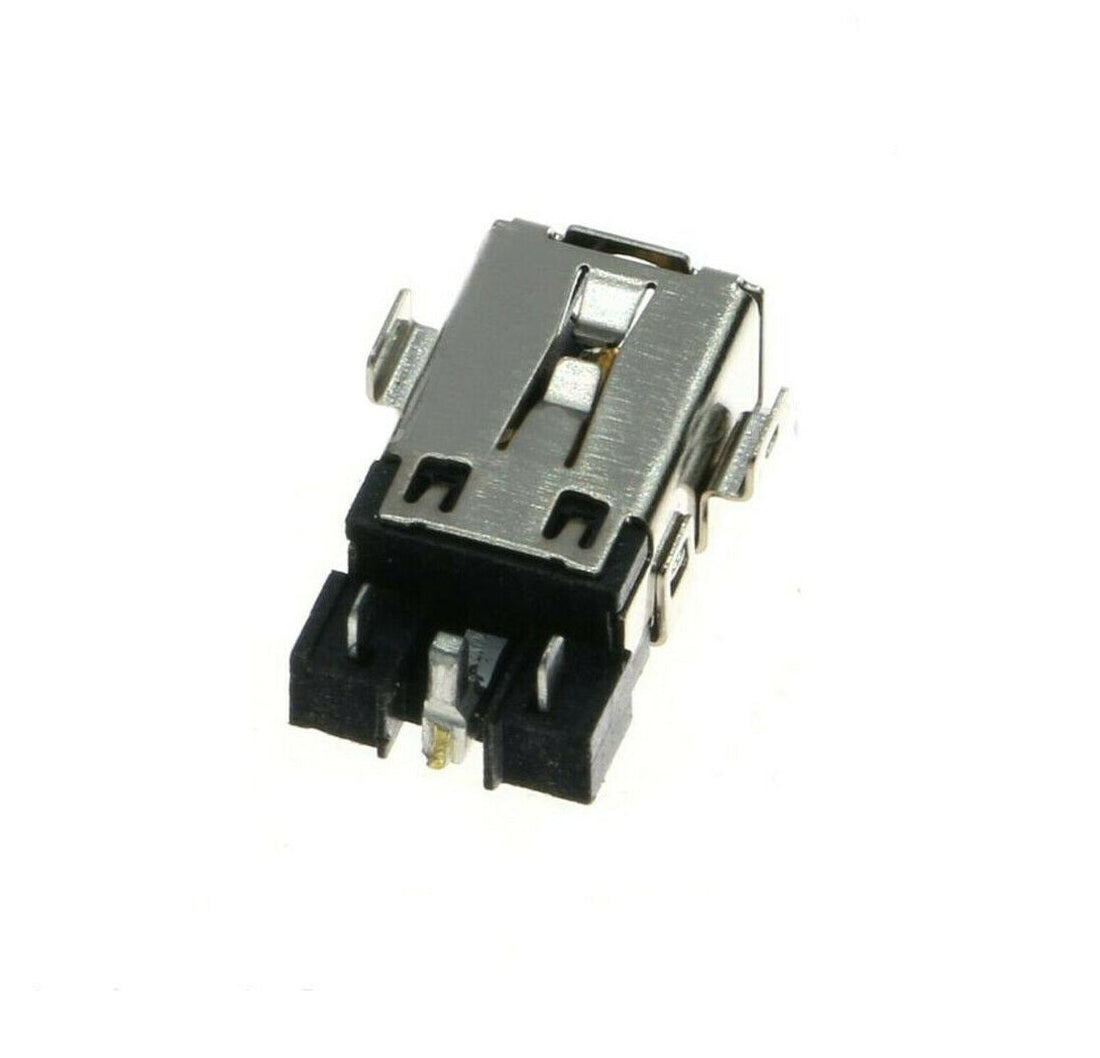
Replacement DC power jack: Acer Aspire 3
Isopropyl alcohol + small brush (for cleaning)
Anti-static wrist strap (recommended)
🔌 1. Power Off and Unplug
Shut down the laptop completely.
Disconnect the charger and all external devices.
Hold the power button for 5–10 seconds to discharge any remaining power.
📦 2. Remove the Bottom Cover
Place the laptop upside down on a soft surface.
Remove all screws securing the bottom panel.
Carefully lift off the bottom cover.
🔋 3. Disconnect and Remove the Battery
Locate the internal battery connector and disconnect it.
If the battery is removable, unscrew and lift it out completely.
This is critical to avoid short circuits during soldering.
⚡ 4. Remove the Motherboard
Disconnect all attached components (SSD/HDD cables, video cable, fan, speakers, etc.).
Unscrew and carefully lift out the motherboard.
Place it on an anti-static mat.
🔥 5. Desolder the Old DC Power Jack
Identify the jack’s solder points on the motherboard.
Apply flux to the solder joints.
Use a soldering iron and desoldering braid or pump to remove solder.
Gently remove the old jack once all pins are freed.

🔁 6. Install the New DC Power Jack
Insert the new jack into the motherboard holes.
⚠️ Re-route any cables, ribbons, or grounding wires through/around the jack housing before final soldering.
Ensure no cable is pinched or misaligned.
Solder the new jack in place with clean, shiny joints.
🧼 7. Clean the Area
Use isopropyl alcohol and a brush to remove flux residue.
Check solder joints under good lighting or magnification.
🧩 8. Reassemble the Laptop
Reinstall the motherboard in the chassis.
Reconnect all cables (display, fan, speakers, storage, etc.).
Reattach the battery.
Secure the bottom cover with screws.
⚙️ 9. Test the System
Plug in the charger.
Verify that the charging LED lights up.
Power on the laptop to confirm functionality.
🎉 Done!
You’ve successfully replaced the motherboard-mounted DC power input jack in your Acer Aspire 3. Proper cable routing ensures stable power delivery and prevents mechanical stress on the new jack.