
Here's a step-by-step tutorial on how to replace the CPU cooling fan in an Intel NUC7 or NUC5 using compatible fan models like:
-
769264-001 (also commonly used in HP laptops but electrically and dimensionally similar)

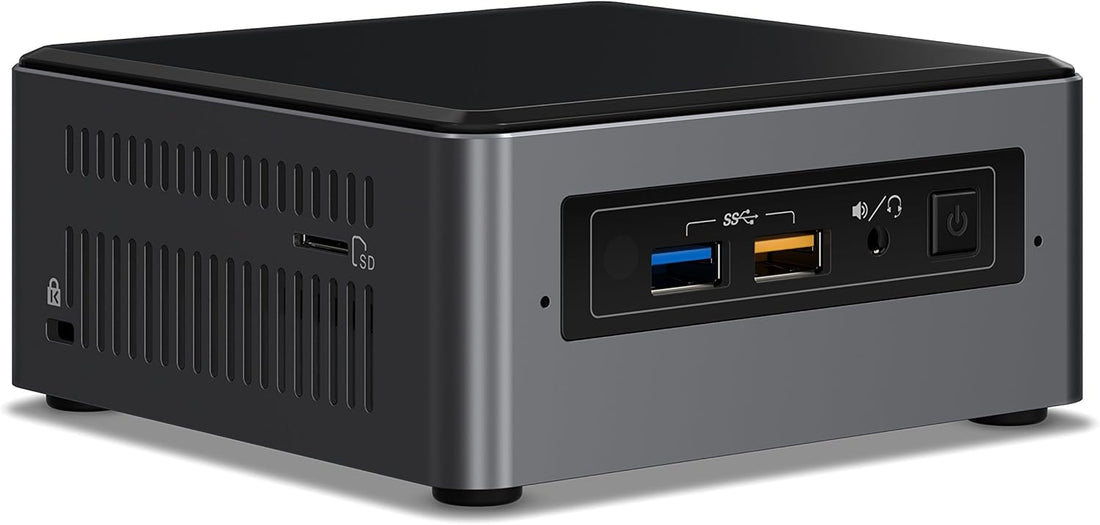
This guide applies to most Intel NUC5i5RYK, NUC5i3RYK, NUC7i5BNH, NUC7i3BNH, etc., but exact layouts might vary slightly. Be gentle and patient during disassembly.
🔧 Tools You’ll Need
-
Precision screwdriver set (Phillips #0 and #1)
-
Plastic pry tool or spudger
-
ESD wrist strap (optional but recommended)
-
New replacement fan (one of the compatible models)
-
Thermal paste (optional, only if heatsink is removed)
⚠️ Precautions
-
Unplug the NUC and let it cool down.
-
Discharge static electricity before handling internal parts.
🛠️ Step-by-Step Fan Replacement Guide
1. Remove the Bottom Cover
-
Flip the NUC upside down.
-
Unscrew the 4 screws at the corners (they usually stay attached to the bottom cover).
-
Lift off the bottom panel carefully.
2. Remove the Internal Components
Depending on your NUC model, you may need to:
-
Remove the RAM and SSD (M.2 or SATA) to gain better access.
-
Unplug the Wi-Fi antenna cables if they obstruct the board.
Take photos of the layout before removing parts, to help with reassembly.
3. Remove the Motherboard
-
Unscrew all visible motherboard screws.
-
Carefully disconnect all cables connected to the board (e.g., power, audio, fan).
-
Lift out the motherboard gently—some NUCs require lifting at an angle.
4. Access the Cooling Assembly
-
On the underside of the motherboard, locate the fan/heatsink assembly.
-
The fan is usually attached via 3 or 4 screws and has a small 4-pin connector to the motherboard.
5. Disconnect and Replace the Fan
-
Disconnect the fan cable from the motherboard.
-
Unscrew the fan from the heatsink or chassis bracket.
-
Replace it with your new fan (BSB05505HP CT02 or equivalent).
-
Make sure the connector matches (4-pin) and orientation is correct.
If your new fan does not come with thermal paste and you removed the heatsink, clean off old paste and apply a pea-sized amount of new thermal paste on the CPU.
6. Reassemble Everything
-
Reconnect the fan cable.
-
Reinstall the motherboard, RAM, SSD, and any other parts you removed.
-
Double-check all connectors are seated properly.
-
Reattach the bottom panel and screws.
7. Power Up & Test
-
Power on the NUC and ensure the fan spins normally.
-
Enter BIOS if needed (F2 on boot) to check fan speed/temp.
-
Monitor system temps for a while during use to make sure cooling is effective.
✅ Compatible Fan Notes
All the following fans have similar specs:
-
BSB05505HP CT02 / CT02B05505HP-SM – Standard 5V 0.5A blower fans used in compact PCs
-
769264-001 – Used in HP laptops; same dimensions and connector
Always confirm dimensions (~5.5 cm x 5.5 cm x 1.5 cm) and connector type before purchasing.