
Here’s a step-by-step tutorial on how to install or replace a Apple MacBook A1708 A1989 A2159 A2251 A2289 A2338 privacy filter (privacy screen) to protect your information from side viewing:
✅ Sizes: 13"
✅ Types: Adhesive mount
🔧 How to Install a Apple MacBook Privacy Screen
⚠️ Disclaimer
This is a safe, non-invasive process. It does not void your warranty. Just make sure to select the correct size for your screen.
🧰 Tools and Materials Needed
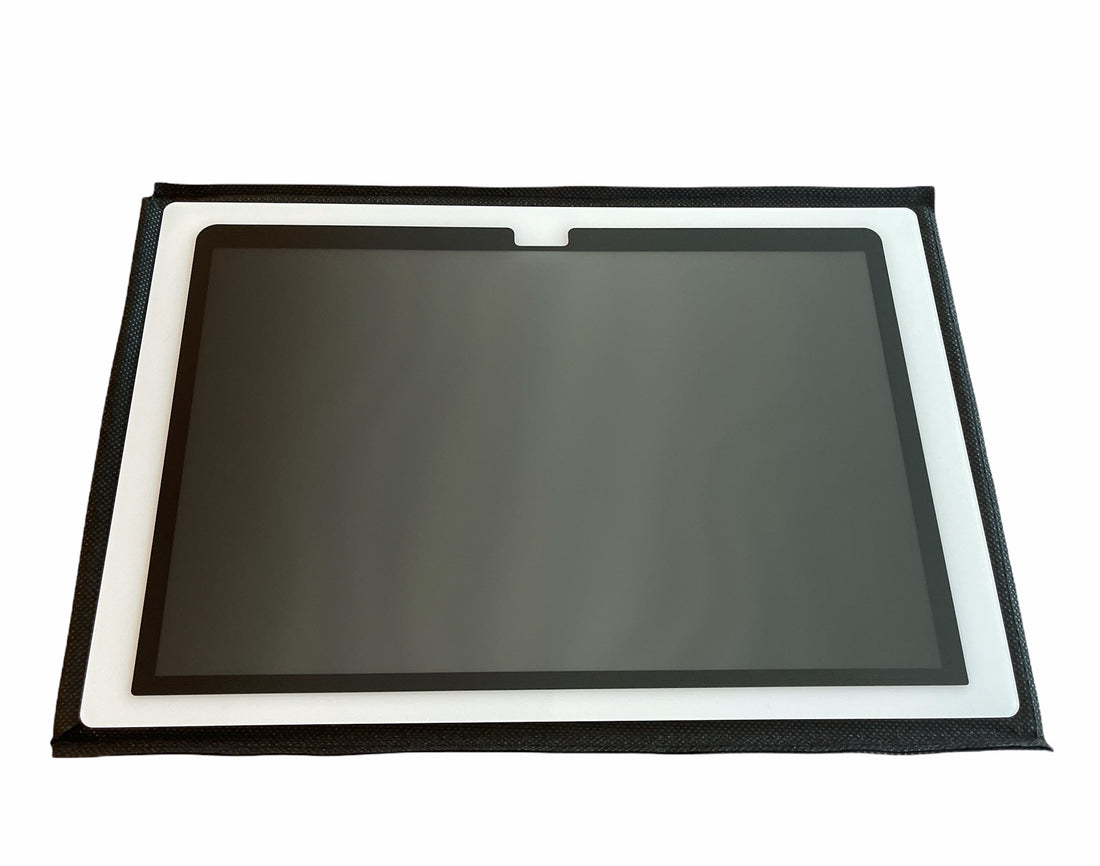
Privacy filter (correct size for your laptop screen)
Cleaning cloth (microfiber)
Adhesive strips
🔌 1. Power Off (Optional but Recommended)
Shut down or put your laptop in sleep mode.
This makes installation easier and prevents fingerprints while aligning the screen.
🧼 2. Clean the Screen
Use a microfiber cloth to remove dust, fingerprints, and smudges.
Ensure the screen is completely dry and clean for best adhesion.
📐 3. Attach the Privacy Filter
Depending on your filter type:
Adhesive Strip Privacy Filter: Peel off the backing from the provided adhesive strips. Carefully place the filter on the screen, aligning edges, and press gently to secure.

🧩 4. Test the Alignment
Power the laptop back on.
Check that the screen is fully covered and the filter doesn’t interfere with closing the laptop lid.
View the screen from different side angles to confirm privacy protection.
🎉 Done!
You’ve successfully installed or replaced a privacy filter on your laptop. Your screen is now protected against prying eyes in public places, while still allowing clear viewing from straight on.